How to Install Solar Panels: The Easiest Way
- 6 years ago
Using Solar panel is an established issue, and millions of people are using it for electricity. Even millions are considering to install a solar panel for home as well as for business. It happens with five-steps just after signing the contract. Also, using a solar panel saves your bucks up to $2500 a year.
Here, we have outlined all the stages so that you can understand the ins and outs of the process.
How to install a solar panel in 6 easy steps
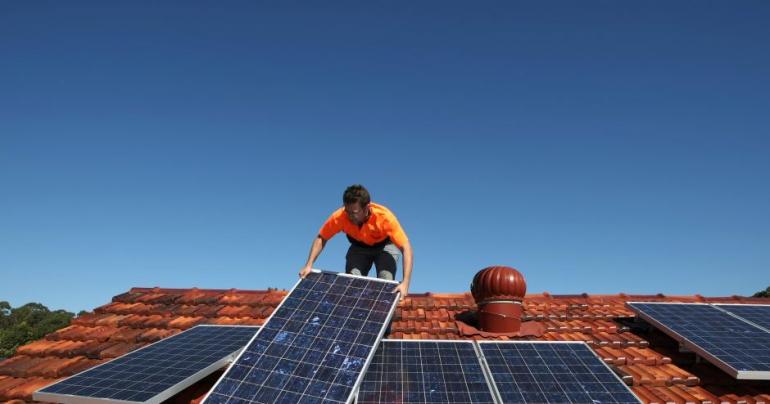
Step-1: Check the roof
According to the professional solar installation company- solar company ringwood, installing a solar panel requires a sturdy roof for mounting. Also, the roof of the house should be sunny and substantial to support the solar panel. Unless it is sturdy enough, the repairing cost will be more than the whole cost of the solar panel.
On the other hand, if you have no roof for installing the solar panel, you should consider using an area with considerable space for installation. The chosen space should have more free space for future using. However, now ensure the direction of the Sun and find which the East is. Space also should be free from buildings, trees, and other shades.
The next step is to install the bracket on sloped roofs or mount the rails on flat roofs. Amount rail system is used to install the panel in any angle. On the other hand, the brackets are used on sloped roofs, but you have to ensure the direction of the sun. However, make sure that all the brackets and mount rails should be installed in the same angle and height to produce the constant voltage. By the way, always follow the instructions provided by the manufacturers.
Step-3: Attach your solar panel
After installing or mounting the rail system, attach the solar panel up to the roof and laying on the brackets or rail system. Then fasten the solar panel with the rail system so that the panel can’t slide on any situation. After installing the solar system, it’s time to connect them to produce power. Here’s the tricky point and you must be skilled enough to do this job.
Step-4: Connect the wires
The next step after connecting the wires is to check the connections whether they are waterproofed and adequately insulated or not. If it is not, wrap to make it secured. Also, use a long wire to connect under the earth to prevent shock. After installing and connecting everything perfectly, place the conduit under the panel into a junction box.
Here, you must be conscious about connecting the wires as there are three wires such as negative, positive and neutral. Make sure that none of them connects the roof. Also, the wires should be kept into safe from rain, sunlight, snow and other elements.
Step-5: Complete the whole set up
Now connect all the components of the photovoltaic plates according to the manufacturer’s instructions. Keep all the components in a dry, clean and well-ventilated garage. The place should be well temperate so that the battery bank can’t affect adversely to the environment. Keep the battery away from the children and the animals.
Step-6: Produce Power
After completing all the above steps successfully, this step is tricky as it is the final step to produce the electricity. Now turn the main breaker off and de-energize all AC and DC power source. After doing that, connect the inverter to the AC breaker panel and PV wires to the disconnected DC switch. Then connect the disconnected DC end to the inverter.
All the system is ready now to produce electricity. Turn on both breakers and AC/DC switches and the electricity will be distributed through the panels you set.


Comments